4.25.2014

Sherlocked! The Ultimate Fangirl's Day-trip (London Filming Locations)

Let's face it, the two main reasons I chose England to study abroad in is Harry Potter and Sherlock. There, it's out there. So besides Harry Potter Studios, which I plan to visit sometime in May, there's of course the matter of hitting all the filming locations of Sherlock~~

So, to the heart of London!  (This trip took place in February, and, yes, I'm only posting now XD)

I got the earliest bus I can get without oversleeping, which got me to London at about 9 A.M.. The bus stopped at Victoria Coach Stations, which conveniently placed me near Eaton Square, or, Miss Irene Adler's former place of residence.


Yep, that's where it happened! The exact spot Sherlock fired a gun to 'call the police'. Miss Adler doesn't live here anymore, however, since she is reported to be in a witness protection program in America XD 

There were two men in suits talking in a low voice in front of the house, and they looked at me suspiciously as I took photos...for a moment I was like 'oh no, the CIA!' and got nervous in case they'd think I 'know too much'. I wandered around a bit after that, passing the street where Sherlock and John fought, before setting off to steal an ashtray.


Sadly, there's no helicopter ride for me. XD
I didn't go inside, so no, I couldn't steal an ashtray, but I kidnapped Her Majesty's dog!


Isn't he adorable!!!!? I named him Hamish. =)

Now, where to next? It's time to stop an imminent terrorist attack. After all, the terror alert has been raised to critical. (wink)


Oh and I stared at the Big Ben for awhile imagining where Sherlock's bolthole might be XD


Trafalgar Square and the National Gallery. This is where Sherlock took John to find his own 'consultant', the paint expert. The museum shots are actually not filmed in the National Gallery but in Cardiff, but, hey, it's supposed to be in London, so I'll take it.


Opening scene anyone? I couldn't find a place where I can get a bird's eye view like in the opening sequence, but I was still sooo excited, humming the opening music over and over.

Criterion Restaurant, where John and Mike Stamford reunited in the novels. In Sherlock, the coffee cups they were holding in that scene has the word 'criterion' as a nod to the novels.
I am just about starving at this point. So where does a Sherlock fangirl go for lunch (late, very late lunch)? Why Speedy's of course!

Looks familiar? This is where Sherlock and John's dangerous new neighbors lived in The Great Game, just across from 221B.


 The door number isn't 221B now that they're not filming anymore, but the knocker is still crooked! Looks like Mycroft hasn't been visiting! I wanted to knock and have Mrs. Hudson answer the door sooo bad!


There is fanart and photos of the actors on the walls. I wonder if I'm sitting in a chair where one of the actors have sat in??


My meal. I have decided to pretend that Mrs. Hudson made it XD


A photo with the owner, whom I heard explaining to the non-fangirls/fanboys in the cafe why so many people are taking pictures of everything.

Next, I went to Russel Square Gardens, the place where John and Mike met in the show.


Where John would presumably have gotten his coffee.


So here's me relaxing a bit from all that walking. No old friends of mine showed up. Just as well, I don't have a flatmate to recommend.

Time for the fall.


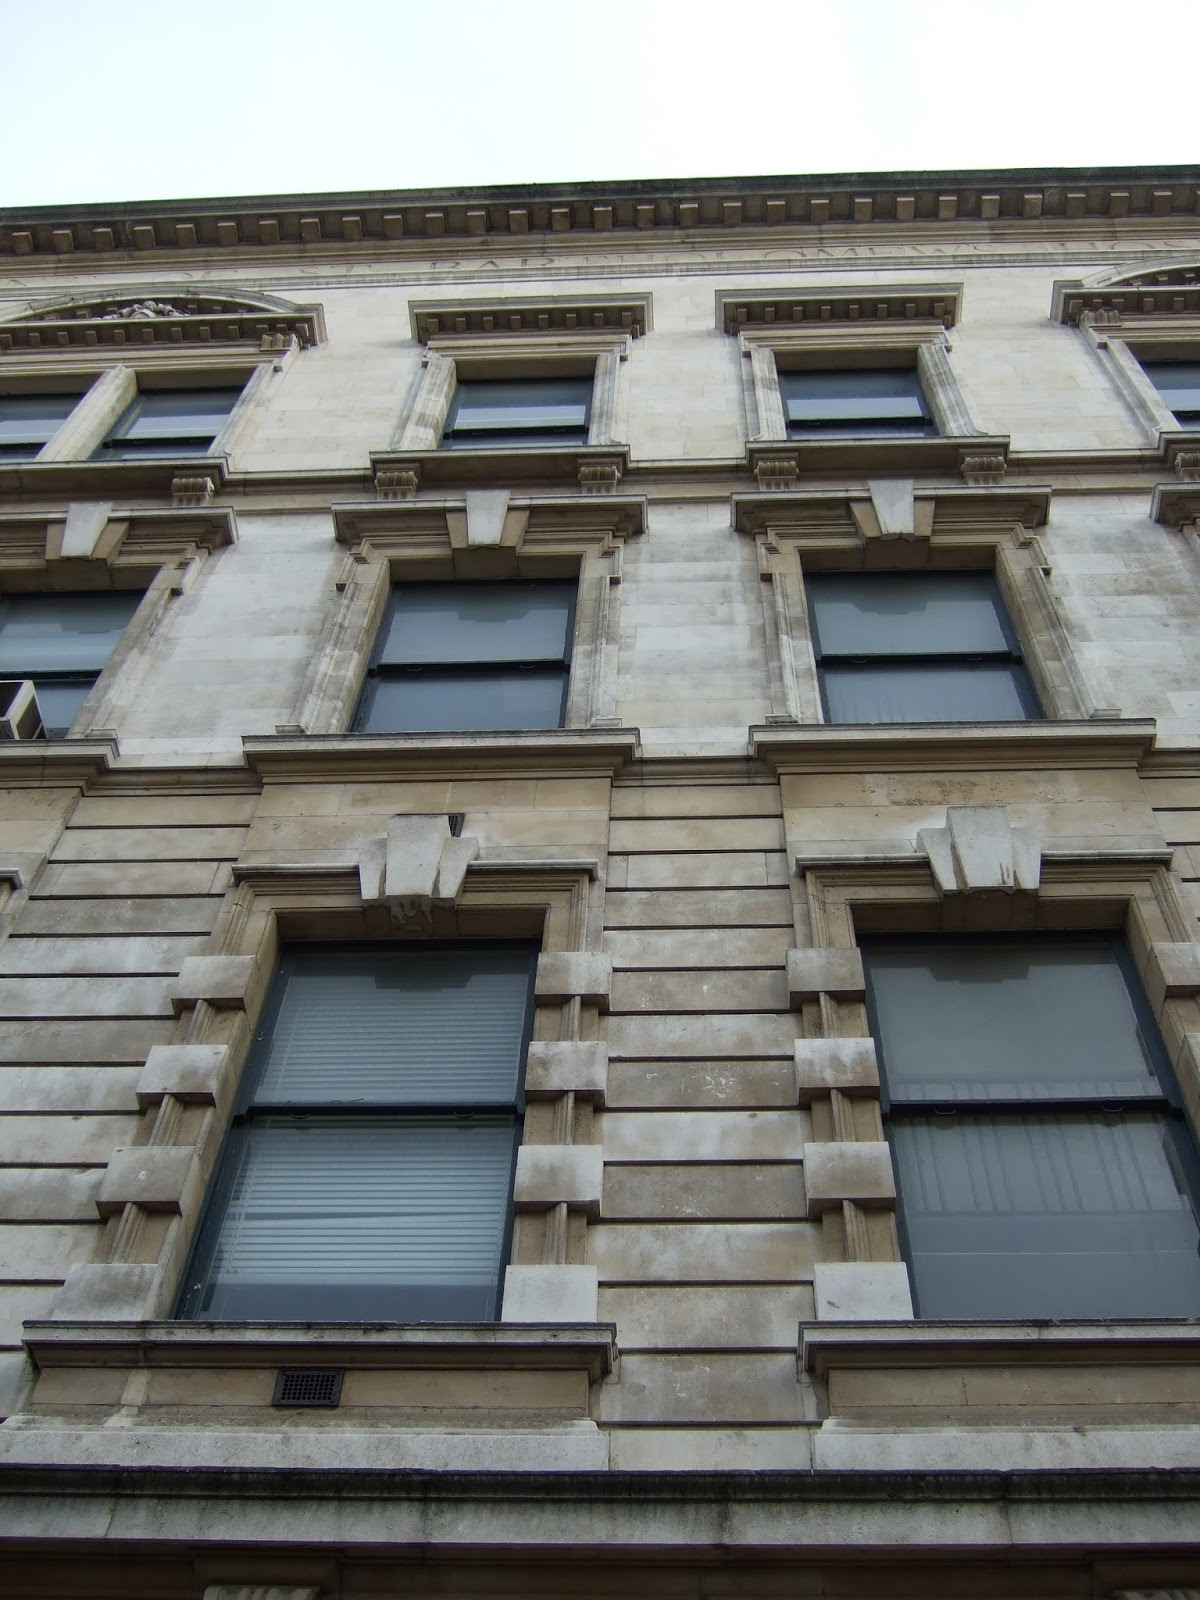
This is the window of St. Barts Hospital, right by the place where Sherlock landed. All the windows on the ground floor are covered with little messages like this. Gotta love Sherlockians!


Where Sherlock landed. I seriously considered lying down on the ground but there were people around XDDD


And here's where John stood when Sherlock jumped. 


Where John got hit by that cyclist. 

Finally, it's time to to to the real Baker Street.


The tube station is full of Sherlock-designs =) 


It was dark and I didn't get many good photos, but I had such fun exploring the place. Sherlock's violin was there and I was itching to play it. The Persian slipper used to hide Sherlock's tobacco is on the mantelpiece.

In Mrs. Hudson's room there's a bust of Sherlock, and letters between Sherlock and John. Figures she'd be the first Johnlock shipper XDD


Shaking hands with Sherlock  <3


The Hound. Doesn't look all that scary to be honest, reminds me of Fang, really.


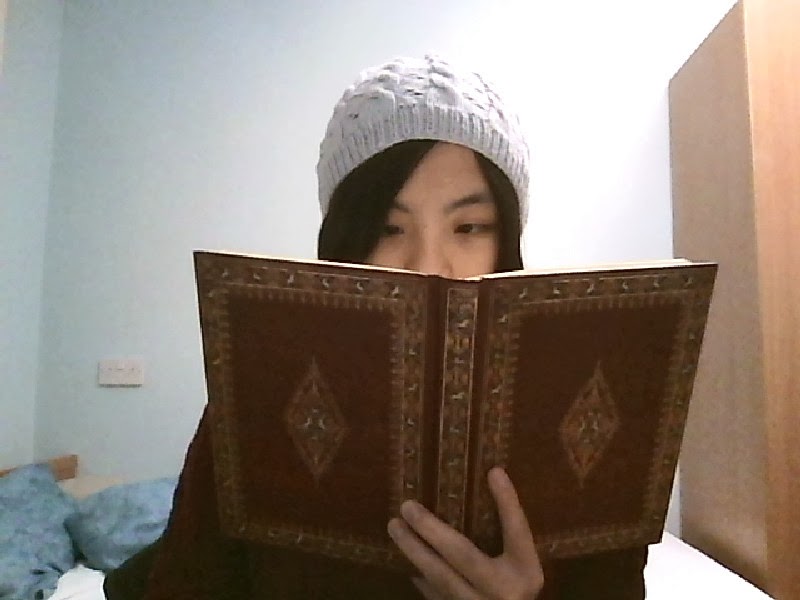
And, like a good Sherlockian does, I got myself 'the hat'. It's an ear-hat, John!

And so ends my glorious Sherlock trip. There are a few places I missed in London, such as 'Angelo's' where they had their first meal together in 'A Study in Pink', the Tower of London, and so on. Will be hitting those places on my next London trip~

The game is always on!

4.24.2014

Hermione's Hat

Oops, just found this as a draft, can't believe I forgot to press 'publish' again, silly me. 

I don't know about you guys, but I'm always staring at hats and scarves of movie characters. I remember watching a rather sad scene in a movie with my family. My mom was quite emotional and turned to share her thoughts but found me staring at the screen, oblivious to the plot because the actress had a beautiful scarf on and I needed to figure out how it's done.

Anyway, naturally the hat Hermione had on in Harry Potter and the Half Blood Prince caught my attention.

Look how pretty!!! Emma Watson as well as the hat =)

Anyway, I'm not the best knitter back then, so thoughts of making it slipped my mind as days went by.

Until I found the pattern for it while browsing the pattern section on Ravelry! The Hermione Hearts Ron Hat designed by Christy Aylesworth can be found here.

How can a Potterhead like myself not make it right away? It was whipped up in less than a week.

Ta-da~~


A side view.
And me reading my spellbook!
I absolutely adore this hat!!! =) Been wearing it throughout this winter and wouldn't stop until it got a bit weird wearing hats out. 


A Little Update.

I realize I've been slacking! I've made lots of stuff but haven't posted anything. Aiming to change that now.

Few months back I started knitting gloves. I'm forced to retire from amigurumi for now since the local yarn shops don't stock the yarn I use for them, or anything with a skin color I'm happy with. So instead of spending lots of money on an amigurumi using expensive yarn, I opted to make clothing and accessories instead. Starting with gloves, because winter in England is so much colder than it is back home... brrr....


The gray pair pictured above is a present for my boyfriend. Sadly, when I return to Taiwan it'll be summer so it won't be much use to him then XD I love the design, the whole thing was quite simple but had that added twist. You can find the pattern here: http://goodforaboy.com/blog/?paged=3

And for myself I made a pair of long fingerless gloves in forest green. 


The pattern is the Seeta fingerless gloves by Maria Sheherazade and can be found here: http://www.ravelry.com/patterns/library/seeta-fingerless-gloves

I love fingerless gloves. Sure, my fingertips are a bit colder but at least I can get things done. I don't know if my fingers are extra pudgy or something, but for me the fingers are always just a bit too long which made doing anything nearly impossible. 

I've really started to come around to knitting in rounds. In the span of a month 3 circular needles were added to the collection. 

I've also made a caplet, and recently started sewing. I haven't photographed these yet, waiting for a nice and sunny day and a photographer. (I miss you so much, Esther!!!)

That's it for now~ In the next few posts I'll document some traveling I've been doing whilst in the UK =)

2.08.2014

Vintage Home Decor DIY: Boundless Books

     I was browsing Youtube the other day and found this awesome tutorial for beautiful vintage-styled boundless book paper bundles. The tutorial is done by Jc frias, who does amazing home decor/diy videos! Go check him out, he's got some wonderful tutorials I want to try!!! So anyway, the instructions seem so simple and the result looks so beautiful I just had to give it a go, so I went to town and got myself the meterials right away!!

This is how it turned out~~ Posed with my new budding collection of vintage keys > w <


    Oh, just on a side note, you'll notice that the background to my photos are different, that's cause I'm currently studying abroad in the UK! So I'm now living at my new dorm room~

The tutorial in the video is super simple, but I'll walk you through my process anyways.

You'll need some books, preferably thick hardbacks. You can usually get them cheap at thrift stores, so keep an eye out. I found a copy of Pride and Prejudice that would be perfect, but the thought of tearing through that gave me the chills so I left it alone. I got mine just under a pound each.

I practically grew up in a pile of books, so ripping the cover off like I did was a painful process, but eventually I got the binds off. I don't have a lighter, and I didn't want to risk the smoke detector in my room going off, so instead of running a lighter along the spine, I heated the spine on some foil over the stove to melt the glue and peel it off.


I got a fantasy novel, which means it has maps inside. I really liked the looks of them, so I carefully tore these out for later use.

Next is time to age the books. The copies were actually already kind of yellowed, but I wanted to distress it further, so I brewed some strong tea, and used the teabag as a painting tool to dye the pages. The video recommended coffee grounds, which gives a much darker shade, but I drank all my coffee and hadn't bothered to go to the super since so tea is all I have. One thing to take note is that it's important to get the edges and sides dyed, or it'll look unnatural.


It looks quite white in the photo, but it's all stained up and ready to go! Get some twine and tie your bundle up, and you're all set!

Time to get my hands on the maps I set aside! This time after dousing in tea for 5 minutes, I put it in the oven at 200F and left it for about 7 minutes. (You want to check it often, as you certainly don't want it to burn up!

Here's how they turned out:


I made a few rips and tears and curled some bits to really give them a aged look. I love how they turned out! I've arranged all this on my bedside table and I just get so happy every time I turn around!

Now I'm just gonna find a craft for the covers... hmm... they're long enough for my knitting needles to fix lengthwise... perhaps a craft supply holder? I can arrange needles and stitch markers and such~

2.04.2014

Bird or Cage? - Bioshock Infinite Elizabeth Necklace Tutorial

Should have typed this up ages ago, I've been wearing the necklaces around for months. But anyway here goes.

As anyone familiar with the game will know, in the beginning half of the game Elizabeth meets the Luteces, who presents her with two brooches, bird or cage. 


I thought they were absolutely lovely, and of course I set off to make my very own. 


I made the bird one earlier on, and the one with the cage is modified from it. The one with the cage is more authentic, so it'll be the subject of this tutorial. Unfortunately I didn't take photographs while making these, but I'll try to explain it as clearly as possible.

The trickiest part is, of course, getting the brooches. The cage one is a birthday present from my boyfriend, who ordered it from Etsy <3 If you don't want to order it from someplace else, you can make your own. I made the bird one myself.

Okay, so first you'll need an image to work with. I got the images from screenshots and used Photoshop to modify the lighting and so on. 

Here are the images I rendered, along with ones of Possession and Murder of Crows, feel free to use them if you like =) 

I ordered empty pendants from a local online store. Mine came with glass beads with flat surfaces, but epoxy resin is also a good alternative. For glass beads, use jewelry adhesive (I used E-6000) to glue the bead to the desired image. Wait for glue to dry completely before cutting out the bead, and gluing to the empty pendant.

For epoxy resin, cut out the image and glue to the pendant, then follow the instructions on the packet to use the resin.

IMPORTANT: Be sure you print the image on glossy paper (like photo paper). Otherwise the glue/resin will seep into the paper and make the color wrong.

The pendant for my bird necklace doesn't have a brooch, but it has loops on the side where rings might be attached, so I used that to sew the pendant to the rest of the necklace.

Once you have your pendant, you'll want to find some ribbon and lace. 


The ribbon I found was a bit too thin, so I sewed two pieces together, making it just slightly wider than the lace.

Now everyone can take a minute and mock my terrible sewing skills.


The width ended up to be just over 2cm. You might want to go for 2~2.5 cm for a more authentic look. 

Then it's time to sew on the lace. As you can tell from the photo above, my sewing skills are terrible, so I can't give much advice there except the totally obvious don't t let your thread show in the front.

Next, wrap the necklace around your neck and mark where you want the closure to be. You want your necklace to fit snugly against your neck, so do make sure your measurements are exact. Velcro is a good choice if you want to be able to adjust the size with ease. If you're using invisible snaps like I did, measure the spot well and don't repeat my mistake of sewing the buttons on the wrong side. 

Combine pendant and ribbon, and voila! Your very own necklace.


A crap picture of me wearing it with my new dress XD 

I find that it's very wearable, it goes with a bunch of my outfits both casual and dressy, and every once in awhile I see someone on the street that recognizes it and makes a good conversation starter. 

If you do make one, leave a photo so I can see~ =D